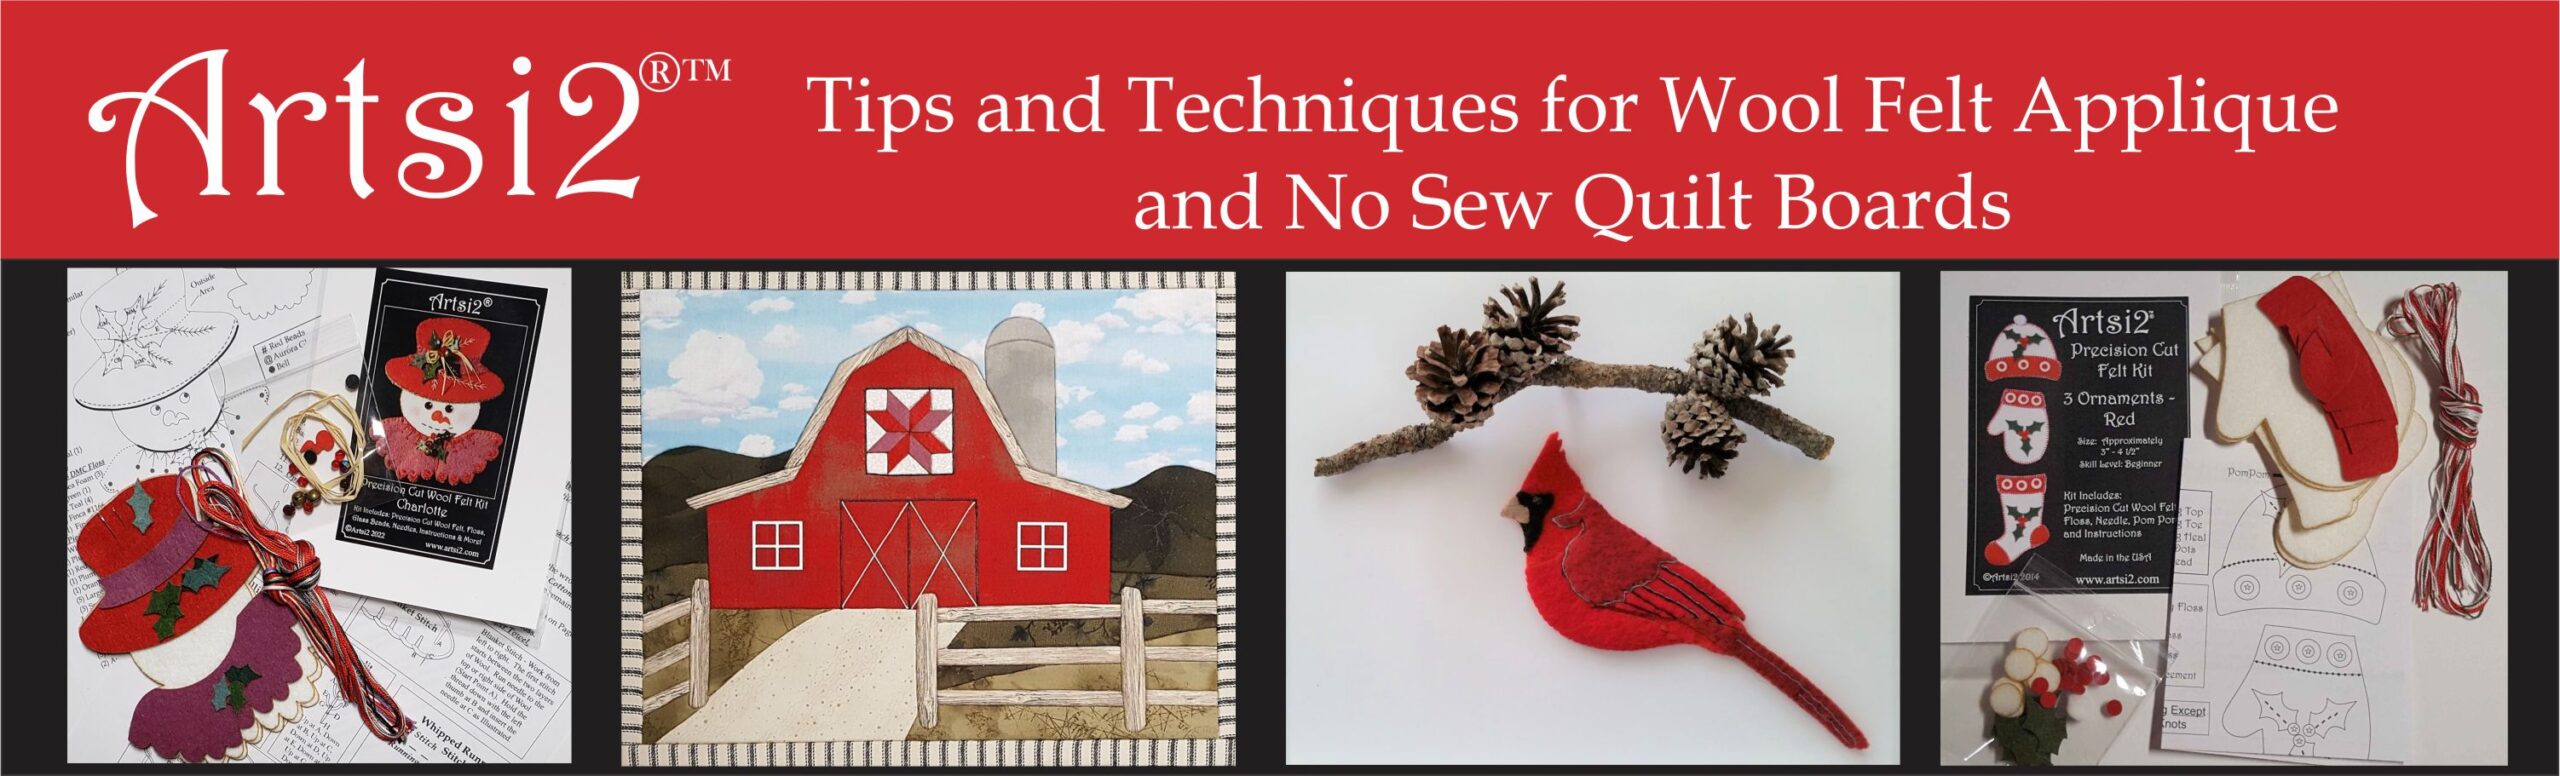
Kits Available at:
https://artsi2.com/product/betsy-the-cow-no-sew-quilt-wall-hanging-by-artsi2/
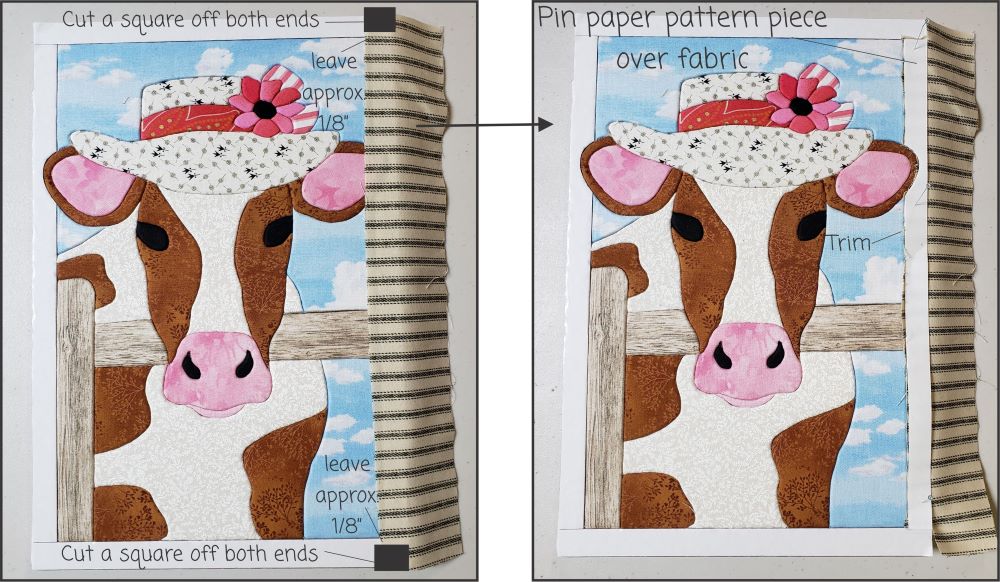
The border strip should be 2″X12″ long. Remove paper pattern piece and set aside. Place border fabric on the adhesive. Place the paper pattern piece over the fabric and pin. Slightly tuck the fabric into the grooves.
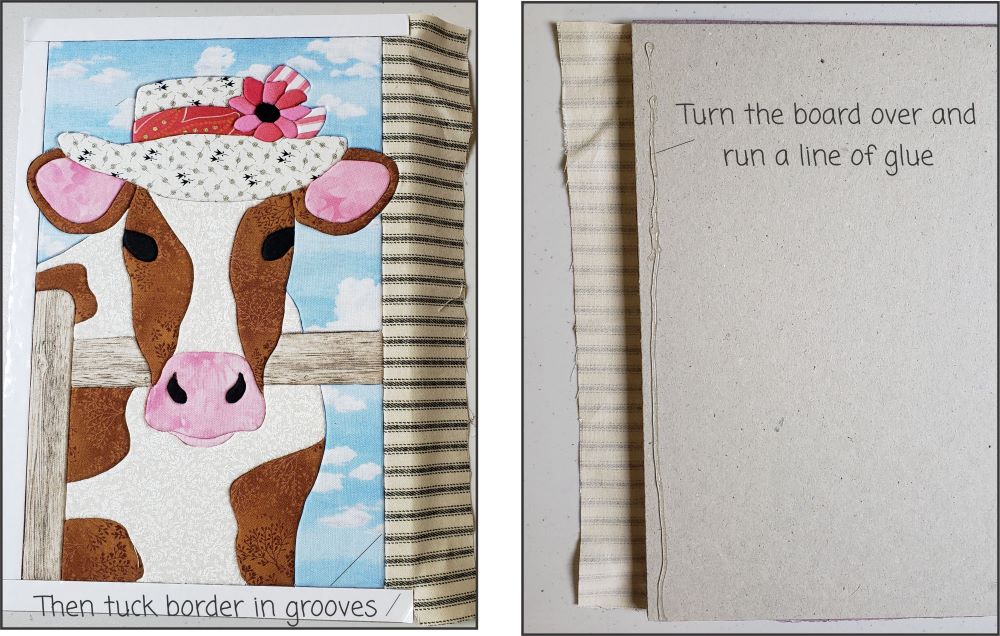
Remove paper pattern piece, use the lint roller and then tuck the fabric in completely. Turn the board to the opposite side and run a line of glue near the edge.
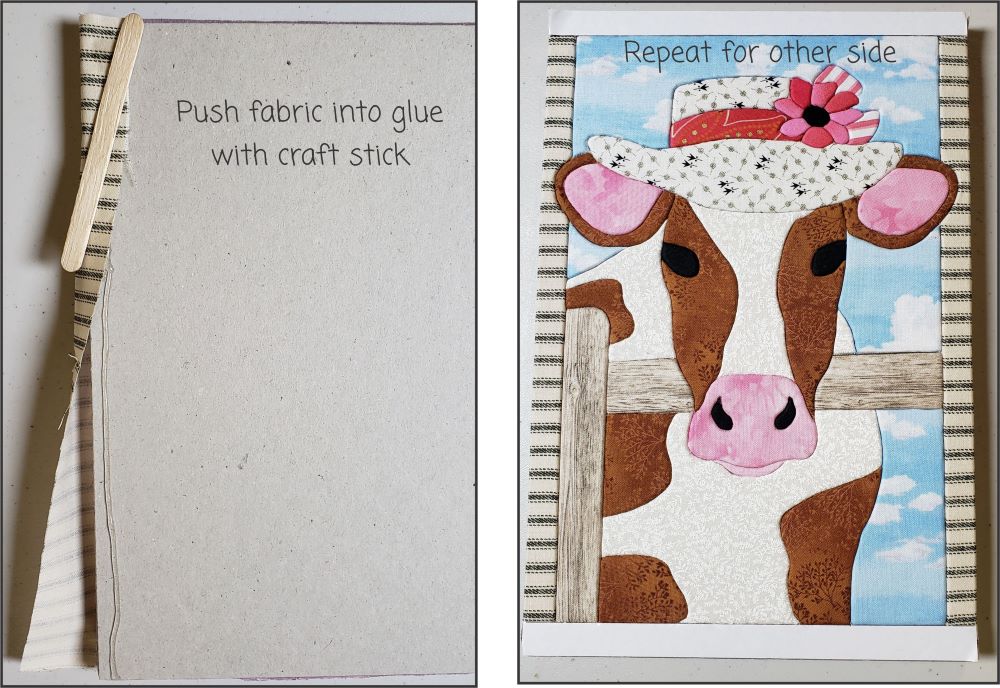
When pushing the fabric into the glue; make sure that the fabric is not loose. Repeat for other side.
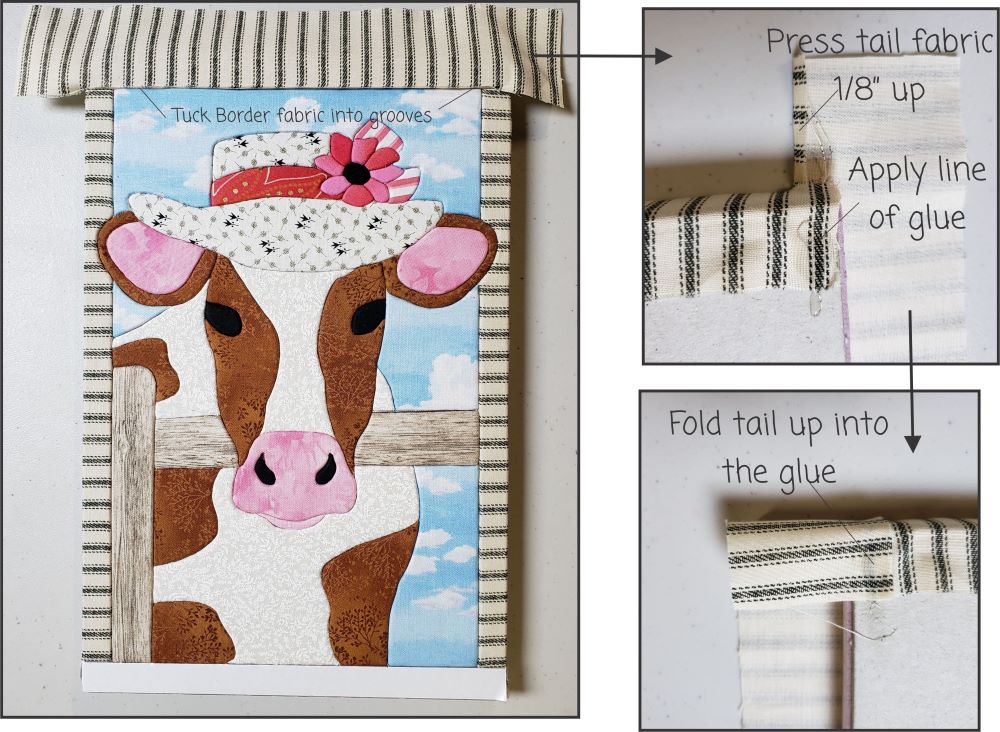
Remove paper pattern piece, have a border strip 2″X10 or 11″ to create a “tail”. Place the strip on the adhesive, leaving a “tai” on each side. Turn the board over and Press tail fabric up and apply a line of glue. Fold the “tail” into the glue.
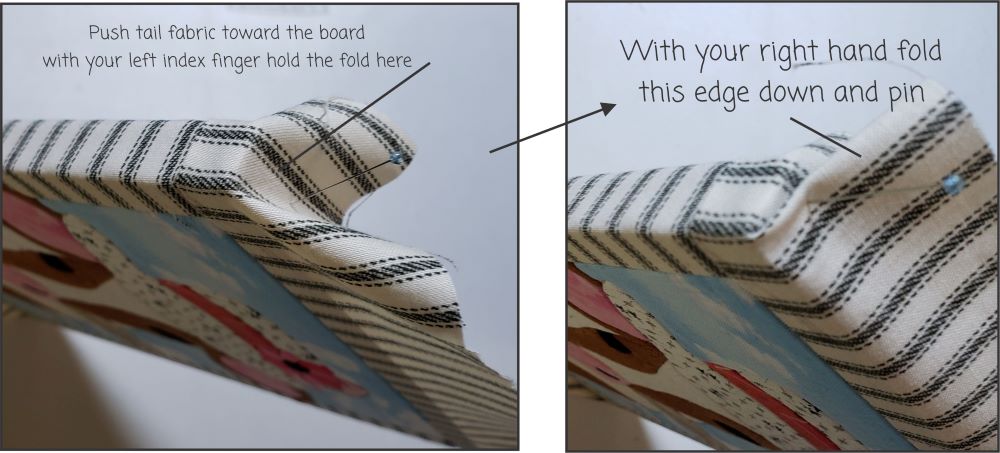
Push the tail fabric toward the board with your left index finger; hold it there. The with your right hand fold the “tail” down and pin.
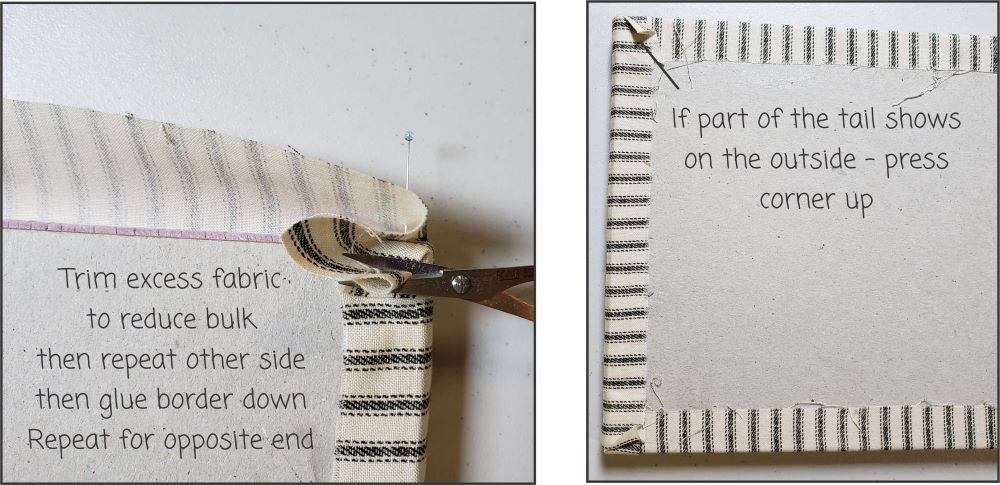
Trim the excess fabric to educe bulk. Repeat for the opposite side and then glue gown the entire side, from end to end. Repeat for the remaining border. If some of the tail peaks out to the right side – turn the corner down and finger press or glue in place.
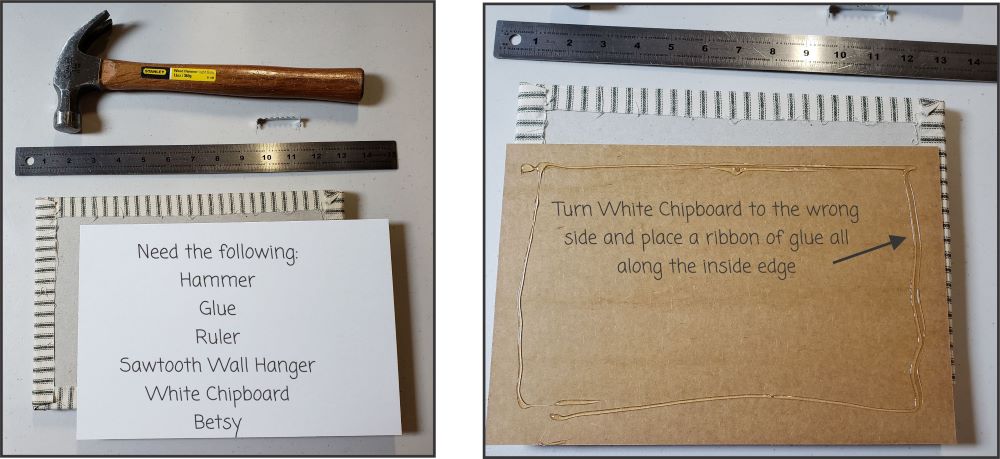
Collect the following items for the next step; Hammer, Glue (a hot glue gun or Tacky Glue), Ruler, Sawtooth Wall Hanger, White Chipboard and Betsy. First make sure that the Chipboard will fit. Place it on the back of the Quilt Board and see if any Chipboard shows on the front side. If it does – trim before the next step. Turn the White Chipboard to the wrong side (brown) and run a ribbon of glue around the inside edge.
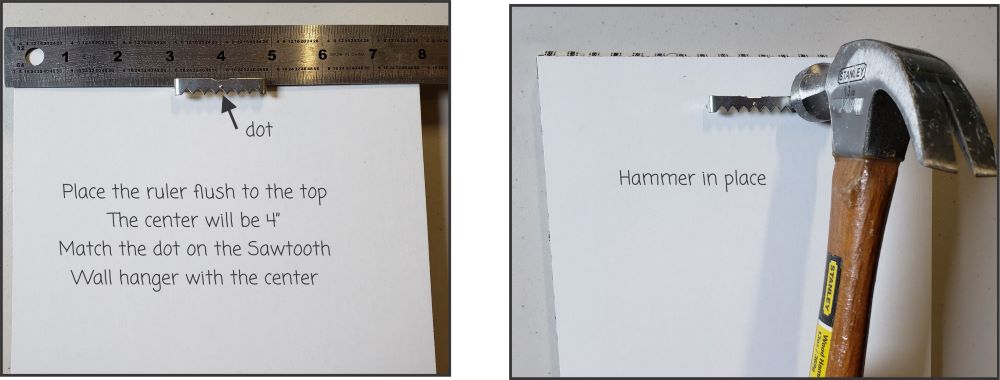
Place the Ruler flush to the top the the Quilt Board. Betsy is 8″X12″. The width is 8″ and the center is 4″. Match the dot on the Sawtooth Wall Hanger to the 4″ mark. Hammer in place. I like to gently hammer one side then the next side repeating several times until it is firmly set in place. Make sure that the Hanger is not hammered all the way down. There needs to be a lip so the Wall Hanger can set on a Nail.
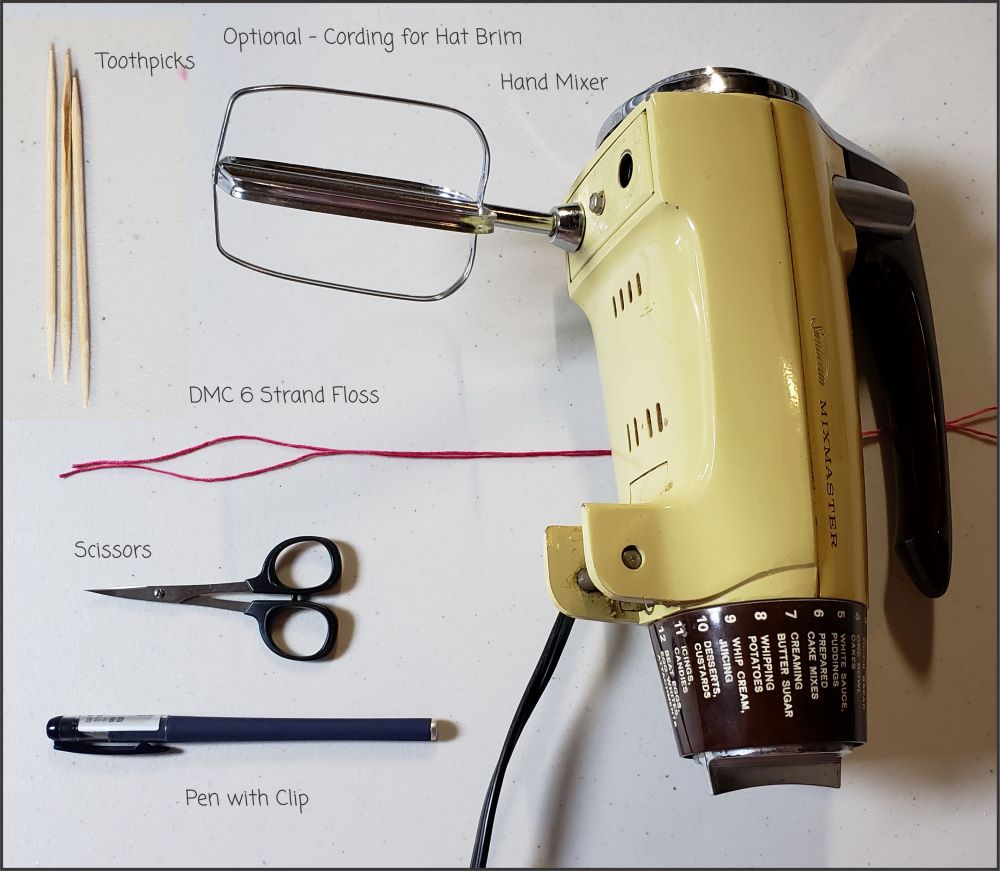
This is an optional step; creating a cording for the Hat Brim. The Supplies needed are: Hand Mixer, Scissors, Pen with a Clip, Toothpicks and DMC 6 Strand Floss. See How-To Cord Making Video:
https://artsi2.com/cord-making/
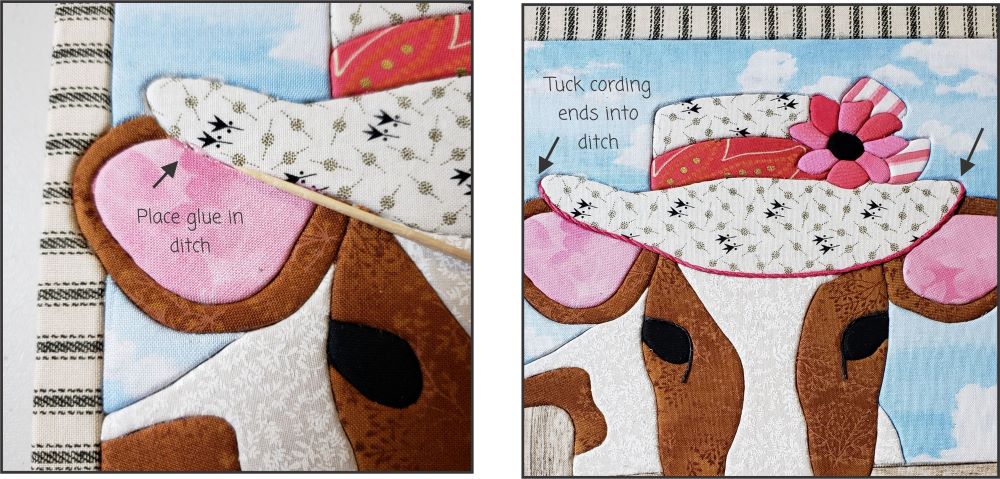
Using a toothpick, apply glue in the ditch on the lower Hat Brim. Set the cording in place and tuck the ends into the grooves.
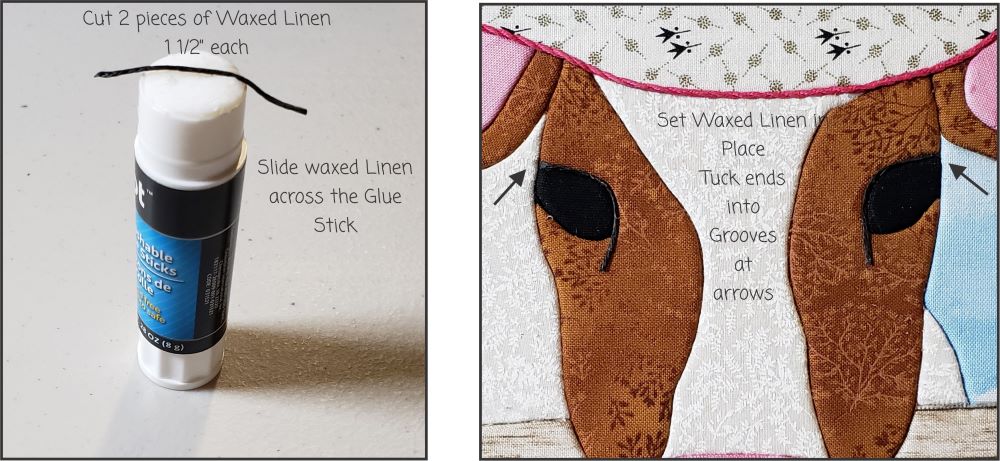
Cut the Waxed Linen in half. It should measure no more than 1 1/2″ each. Slide the Waxed Linen in the glue stick and set in place. Tuck ends (if any) into the grooves.
Kits Available at:
https://artsi2.com/product/betsy-the-cow-no-sew-quilt-wall-hanging-by-artsi2/