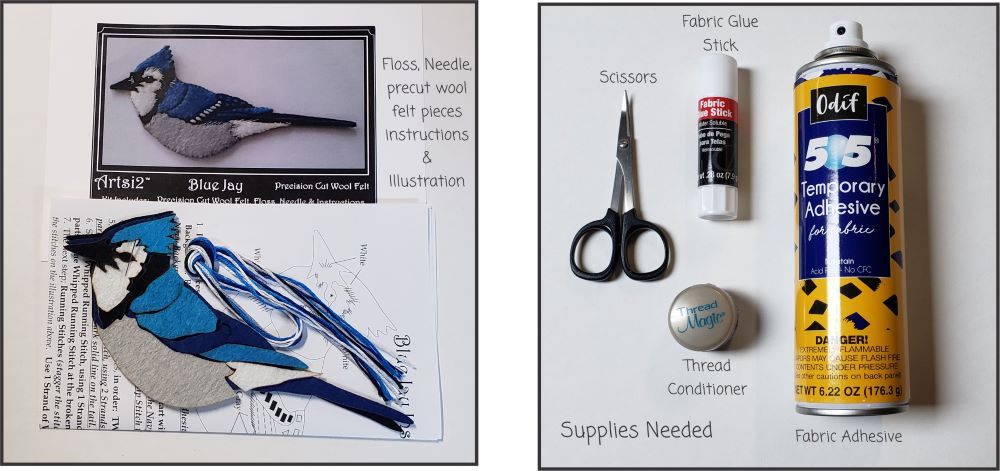
The Kit Contents: Color Cover Sheet, Floss, Precut Wool Felt Pieces, Needle, Instruction and Illustrations.
Supplies needed: Scissors, Fabric Adhesive (I prefer the spray if working from home), traveling – I prefer the Fabric Glue Stick. Thread Conditioner is nice to have. It helps to prevent knotting of the floss while stitching and glides through the felt quite nicely.  Place the pieces on the Navy Blue base. I lightly spray a piece of cardboard with the spray adhesive. It helps prevent the pieces from flying off when applying the spray to the wool felt pieces. Turn the pieces to the wrong side and set on the cardboard. Spray with the fabric adhesive.
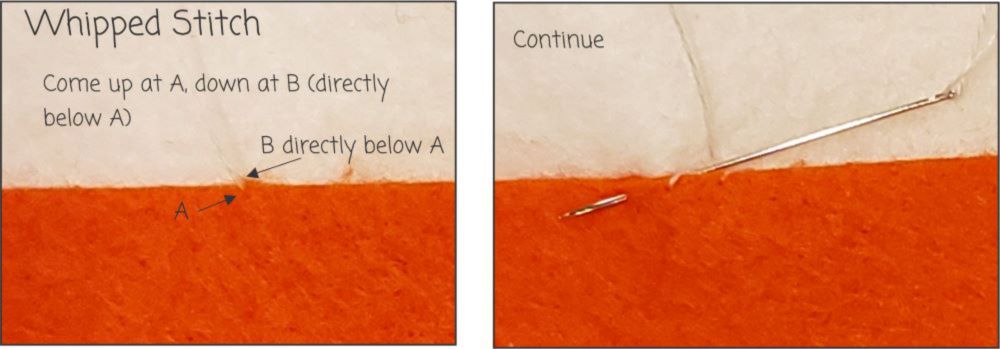
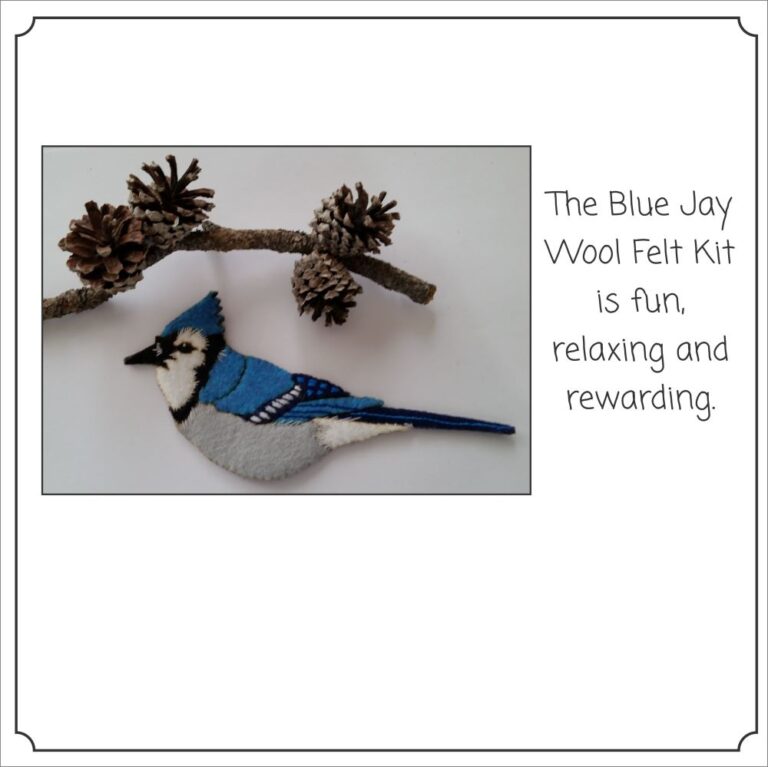
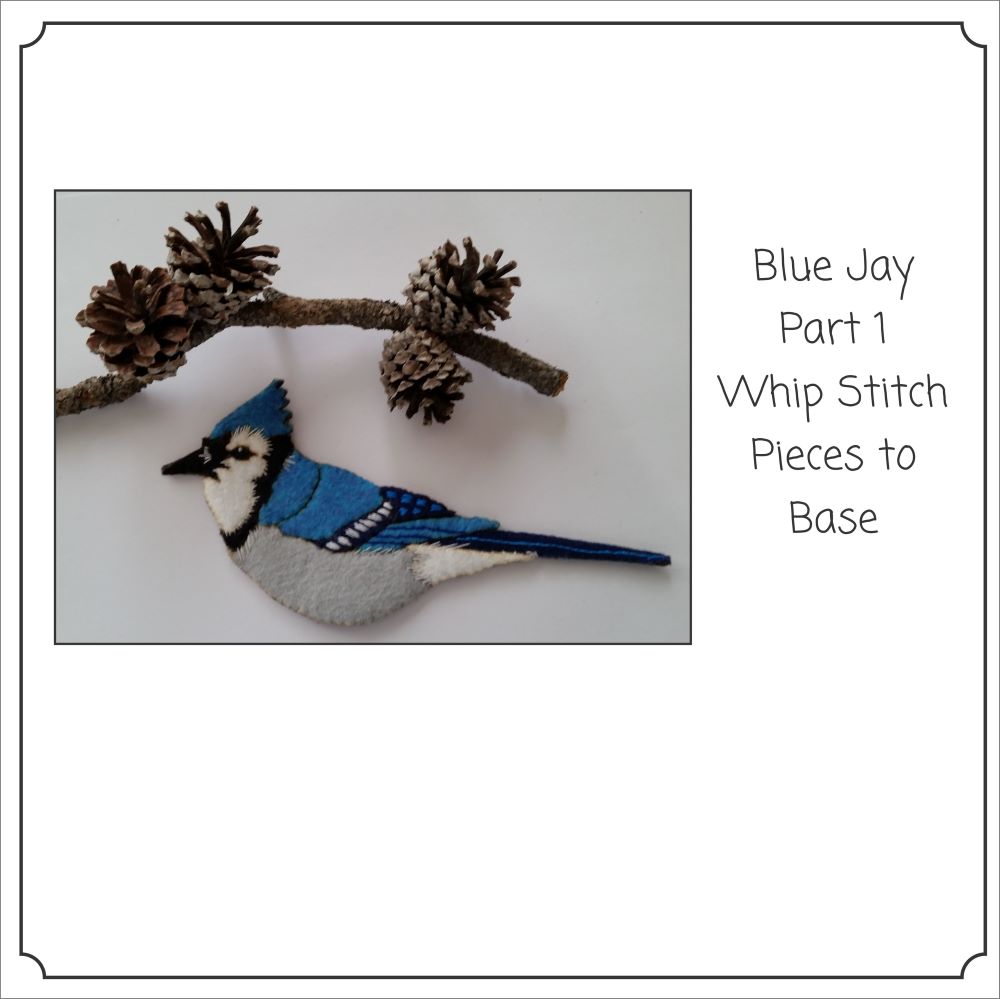
The Whip Stitch is a simple stitch to hold the pieces to the base. The floss is a 6 strand floss. 
Place the Black Beak with Eye on the Navy Base. Use 1 strand of 6 strand Black Floss and whip Stitch in place. Make sure not to Whip Stitch in the outer edges. Whip Stitch the TW1 (Tropical Wave) piece using 1 strand of 6 strand matching floss. Avoid the outer edges. 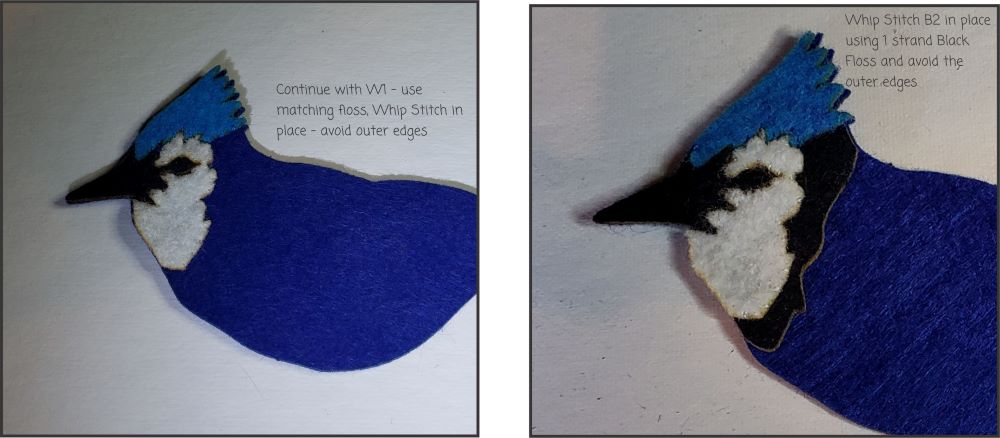 Next Whip Stith the W1 (White) in place using 1 strand of 6 strand White Floss. Avoid the outer edges when Whip Stitching. Then place B2 (Black) in place and Whip Stitch in place using 1 strand of 6 strand Black Floss.

Whip Stitch TW2 in place using 1 strand of 6 strand matching floss. Once again never Whip Stitch the outer areas. Whip Stitch the SG (Silver Gray) piece using 1 strand of 6 strand Gray Floss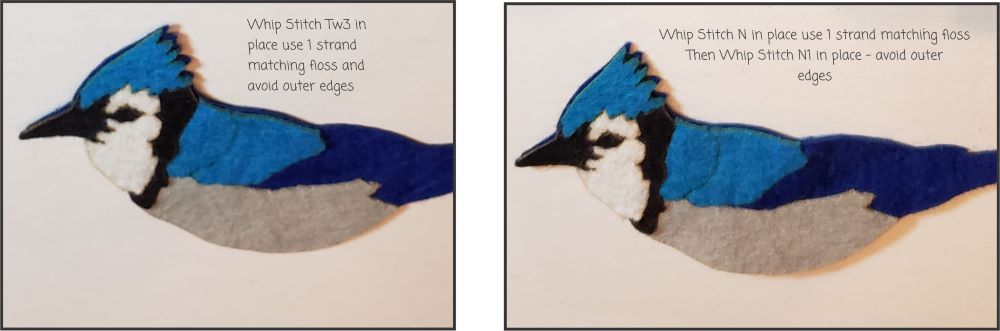
Whip Stitch TW3 in place using 1 strand of 6 strand matching floss. Always avoid the outer edges. Whip Stitch N and N1 in place using 1 strand of 6 strand navy floss. 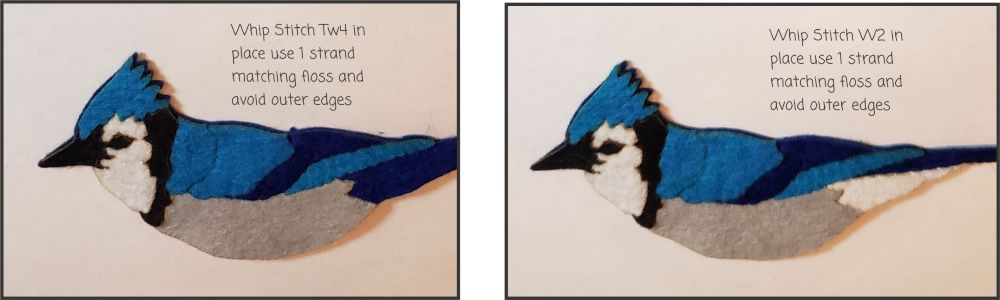
Whip Stitch TW4 in place using 1 strand of 6 strand matching floss. Then Whip Stitch W2 in place using 1 strand of 6 strand White floss.