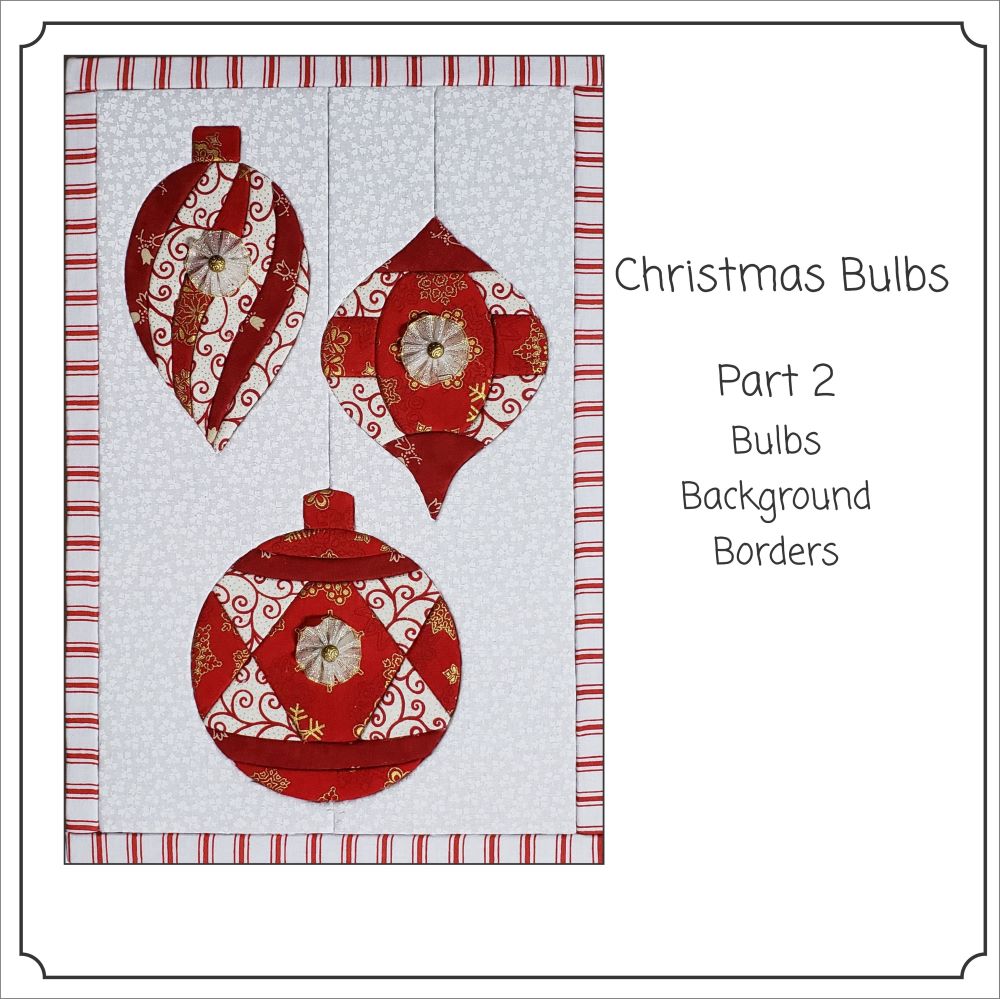
Kits Available at:
https://artsi2.com/product/christmas-bulbs-9×13-5-no-sew-quilt-wall-hanging-by-artsi2-copy/
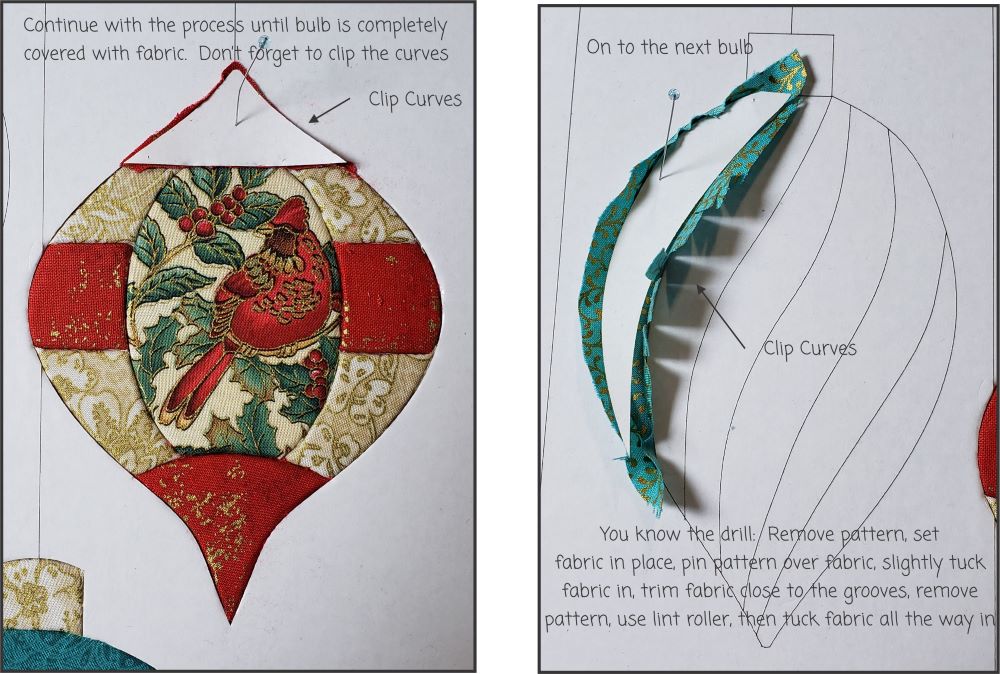
Finish the Bulb and then start working on last bulb. Start covering the last bulb using the basic process; remove the pattern piece, set fabric on the adhesive, pin the pattern over the fabric (this will help determine where the grooves are), slightly tuck the fabric into the grooves. Trim fabric close to the grooves, remove the pattern piece and use the lint roller. Tuck the fabric all the way into the grooves.
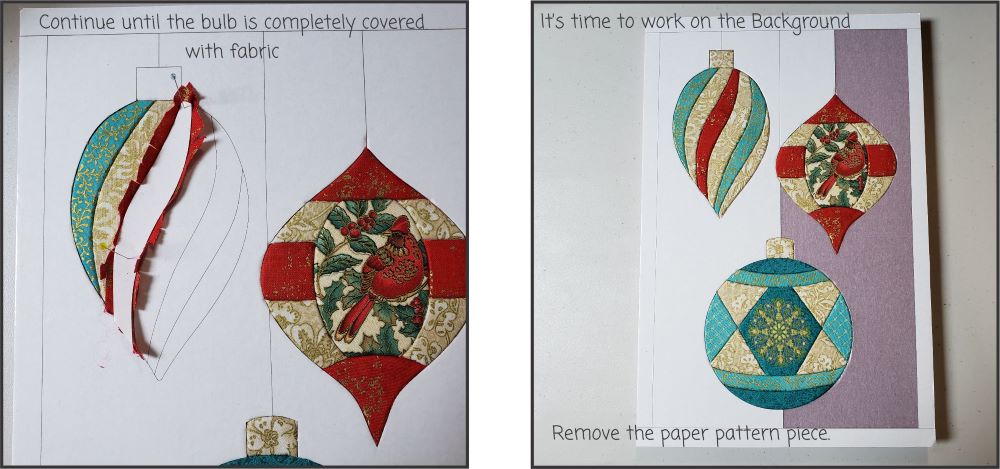
Continue using the basic process until the bulb is completely covered in fabric. Now it is time to work on the background. Remove the pattern piece.
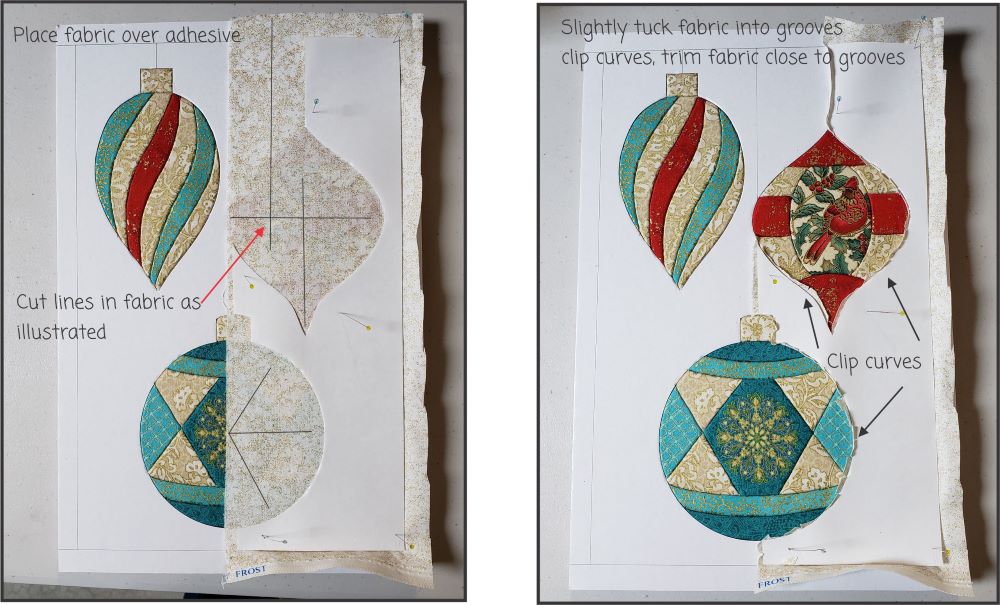
Place fabric over the adhesive, pin the pattern over the fabric and cut lines in the fabric as shown. This will make it easier to slightly tuck the fabric into the grooves. After the fabric is slightly in the grooves, clip curves, trim fabric close to the grooves.
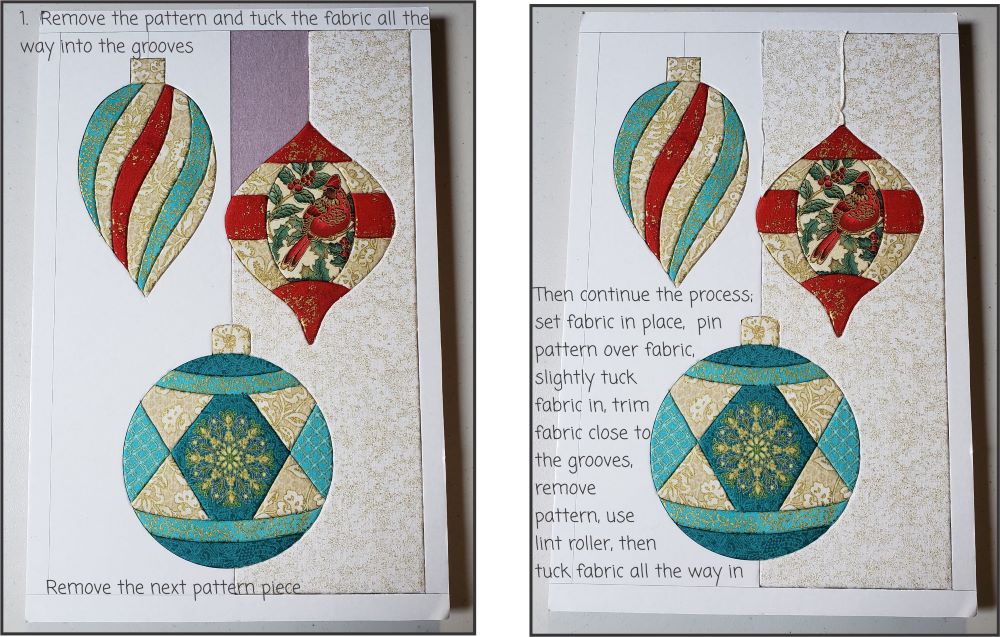
Remove the pattern piece, use the lint roller and tuck the fabric all the way into the grooves. Start the next background piece. Remove the pattern piece, set the fabric in place, pin the pattern over the fabric. Slightly tuck the fabric in, trim fabric close to the grooves. Remove the pattern, use lint roller, then tuck the fabric all the way in.
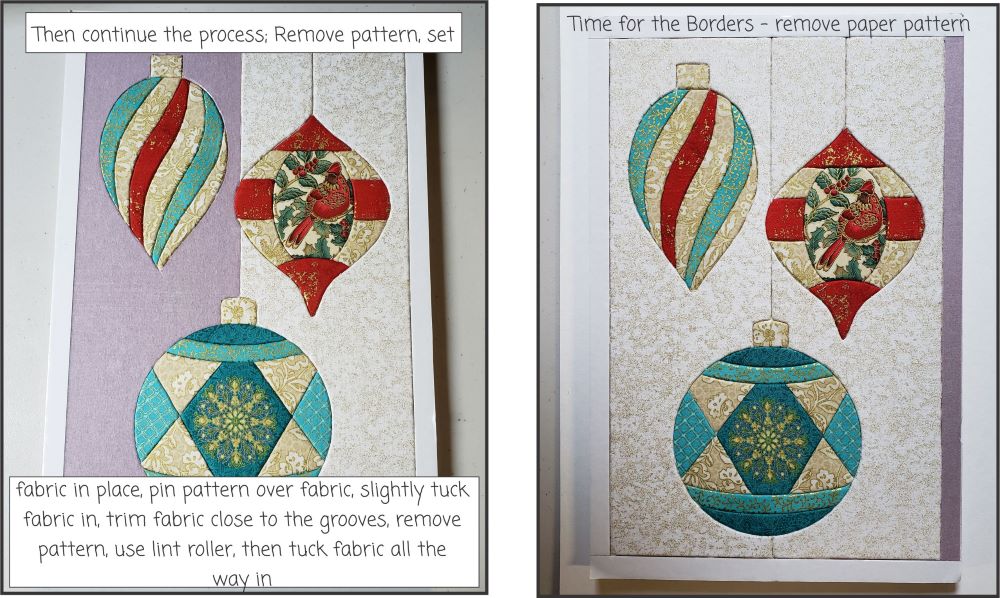
It is off to the next background piece. Remove the pattern piece, apply fabric to the adhesive, pin the pattern over the fabric and slightly tuck the fabric into the grooves. Trim fabric close to the grooves, remove pattern, use the lint roller and then tuck the fabric all the way into the grooves.
The Borders are next. Remove the paper pattern piece and an adhesive is exposed.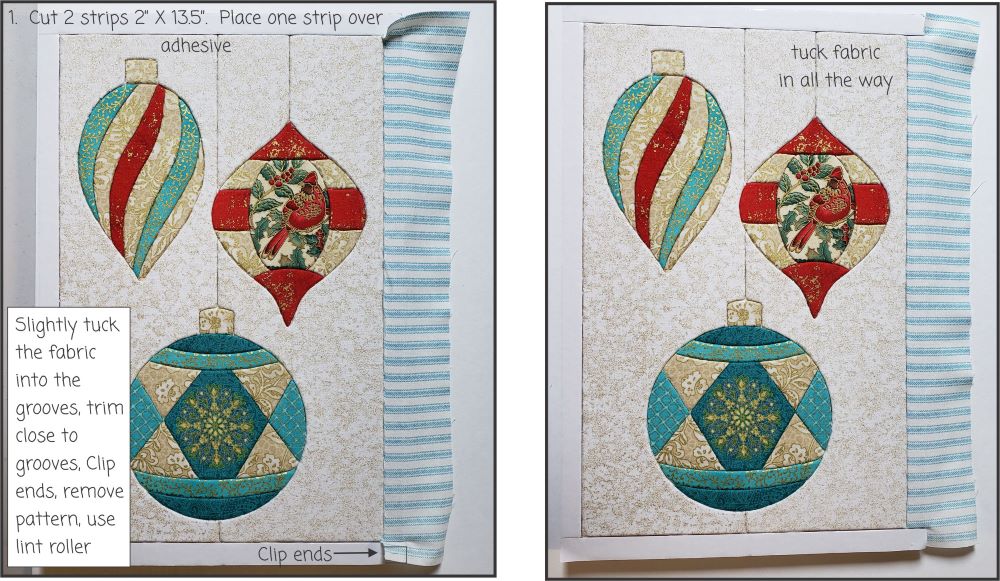
Cut two strips measuring 2″X13.5″. Place fabric over adhesive. Slightly tuck the fabric into the grooves. No need to pin pattern to fabric if you feel bold! It’s a straight line! Clip the ends. Use the lint roller and then tuck the fabric all the way into the grooves.
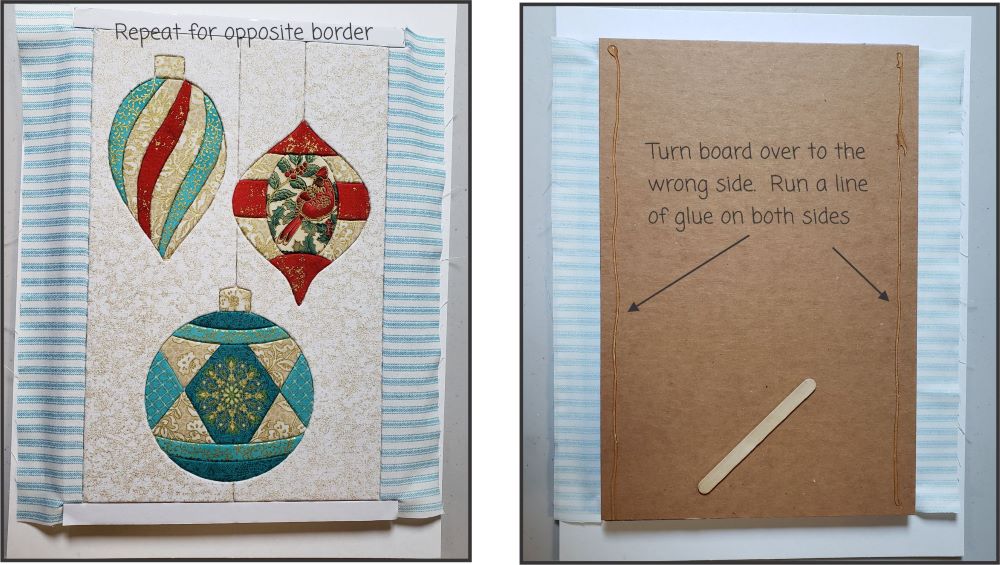
Repeat for the opposite Border. Turn the board over to the wrong side. Run a line of glue on both sides.

Fold the fabric over into the glue. Using the craft stick push the fabric into the glue – repeat for opposite border.
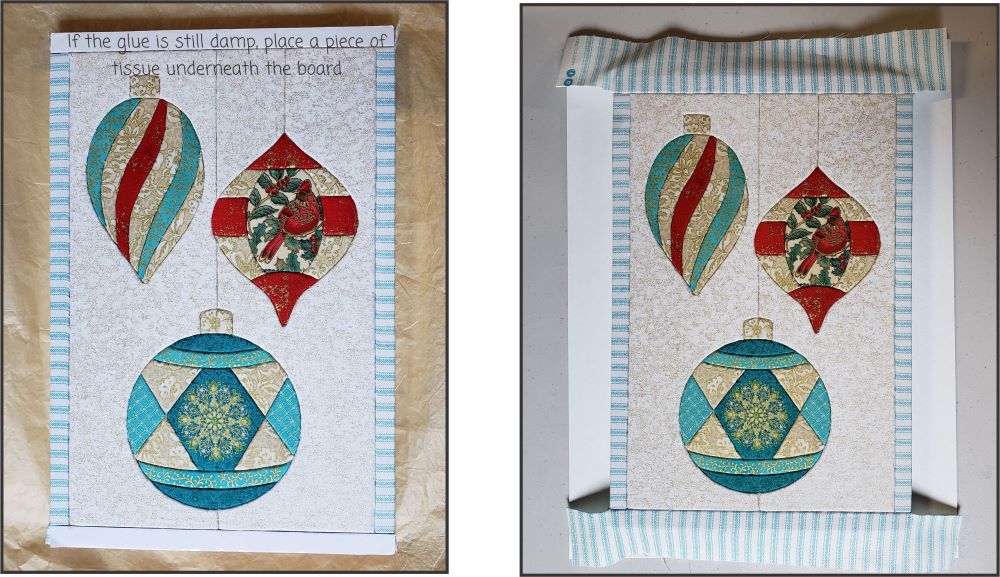
I the glue is still damp – place the board on some paper towels, tissue paper etc. Cut 2 strips measuring 2″X12″. Remove a paper pattern piece, apply fabric to the adhesive, leaving 1 1/2″ tail on both sides. Slightly tuck the fabric into the grooves. Trim fabric close to the grooves, use the lint roller and then tuck the fabric all the way into the grooves. Repeat for opposite Border.
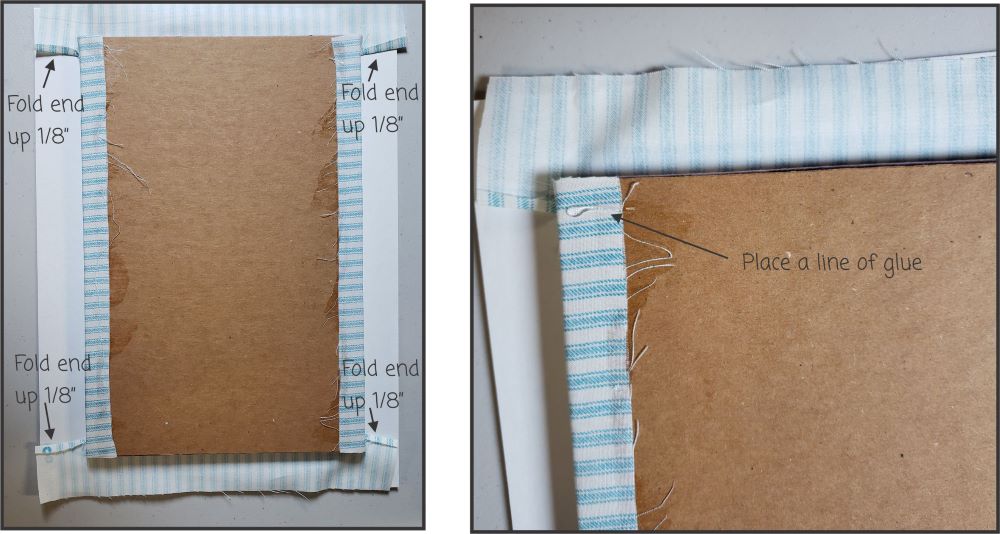
Turn the board to the wrong side. Fold the ends up 1/8″ and press. Repeat until all 4 side are folded up.
Place a line of glue on both side of the border.
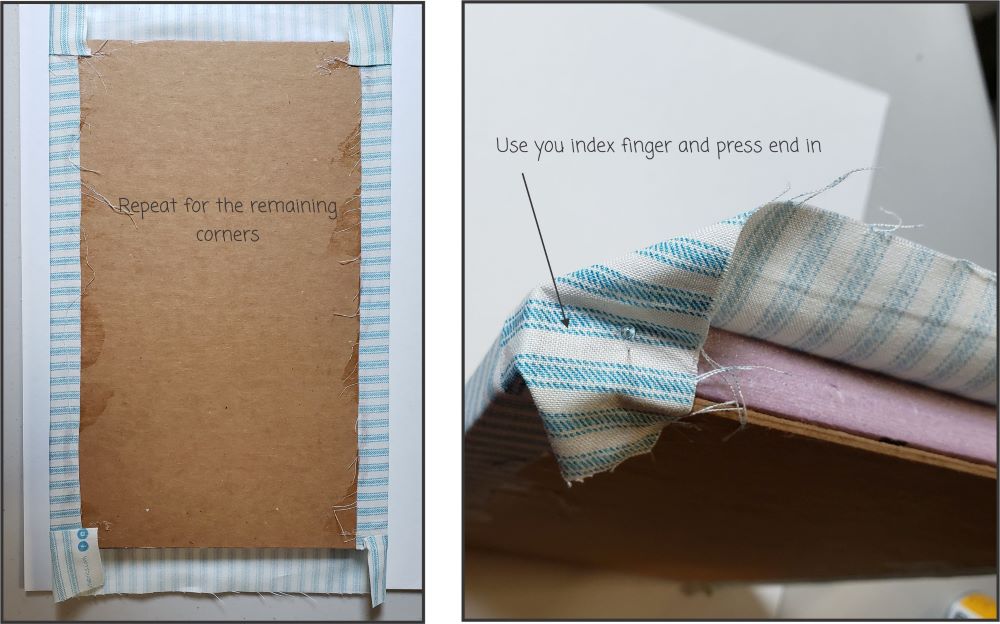
Fold the corner over the glue and push the fabric into the glue using a craft stick. Repeat until all four corners are folded over and glued.
Now it is time to finish the corners. Use your index finger and push the end in. I touch the fold very lightly with an iron. If you decide to use an iron make sure it is a quick touch with the iron. Heat will melt the foam and it doesn’t take much. Repeat for remaining corners.
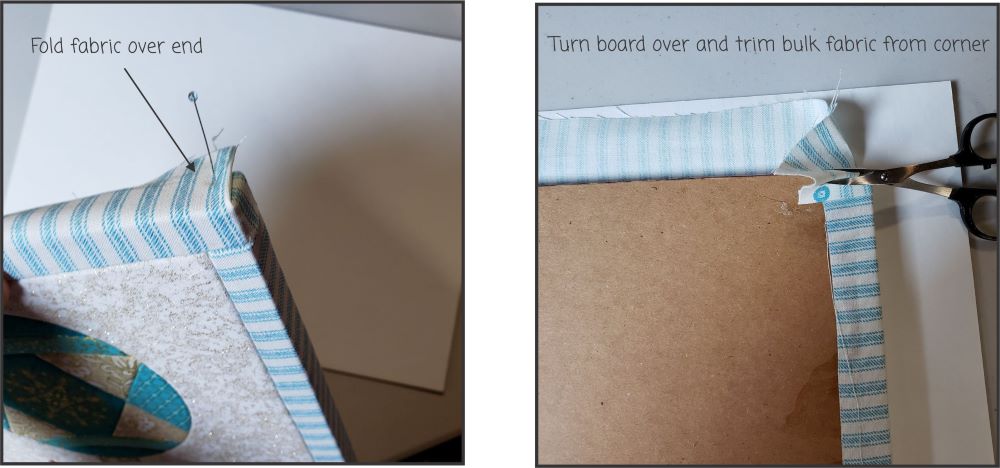
Fold fabric over the end. Optional; lightly press with iron. Repeat for remaining corners.
Turn the board to the wrong side. Trim excess fabric from the corner and repeat for remaining corners.
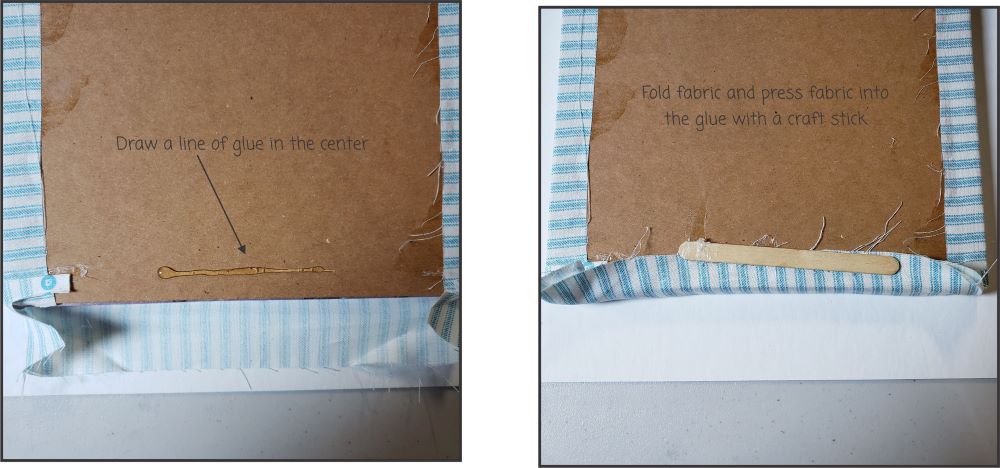
Draw a line of glue in the center of the Board. Fold fabric over glue and press fabric into the glue using a craft stick.
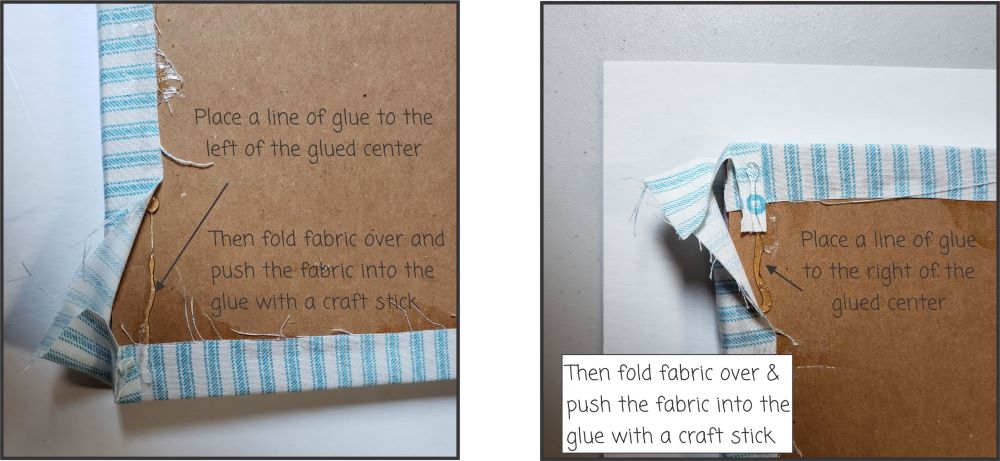
Now place a line of glue to the right of the glued center and to the left of the glued center. Fold the fabric over and push the fabric into the glue with a craft stick.
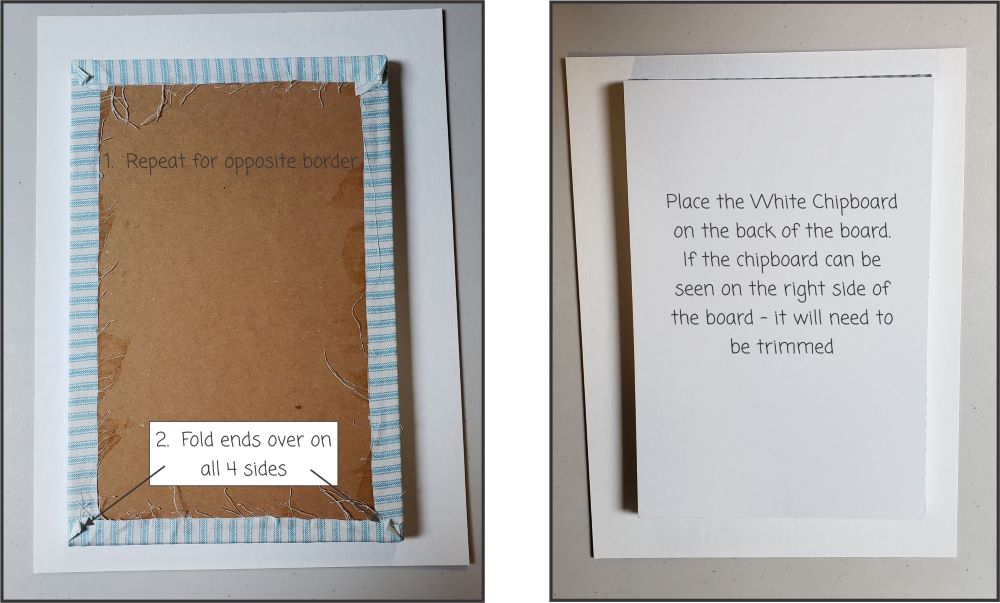
Repeat for opposite Border. Fold ends over on all 4 sides. I do press the folds with an iron.
Place the White Chipboard on the back of the board. If the chipboard can be seen on the right side of the board. It will need to be trimmed.
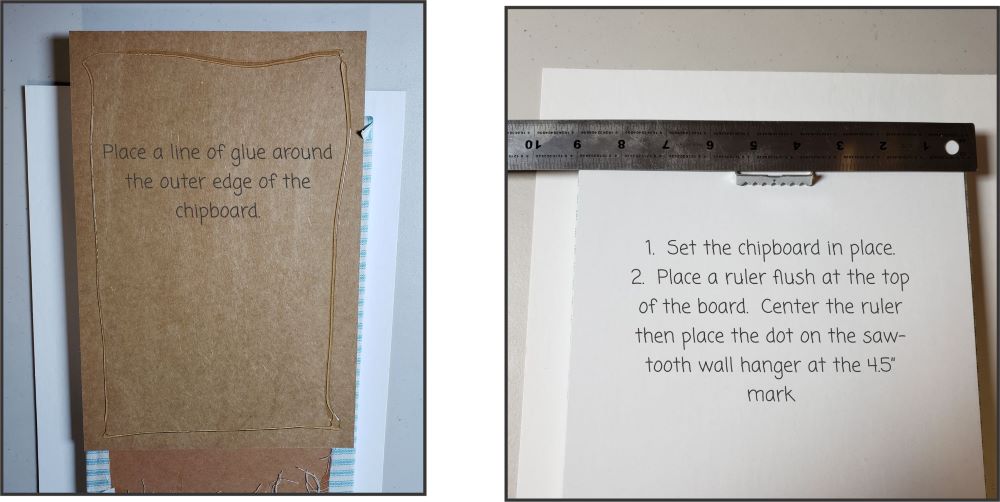
Place a line of glue around the outer edge of the chipboard. Set the chipboard in place.
Place a ruler flush at the top of the board. Center the ruler then place the dot on the sawtooth wall hanger at the 4.5″ mark. Hammer the sawtooth wall hanger in place. Make sure you do not hammer the hanger too far. A space is necessary to hang on a nail.
Kits Available at:
https://artsi2.com/product/christmas-bulbs-9×13-5-no-sew-quilt-wall-hanging-by-artsi2-copy/