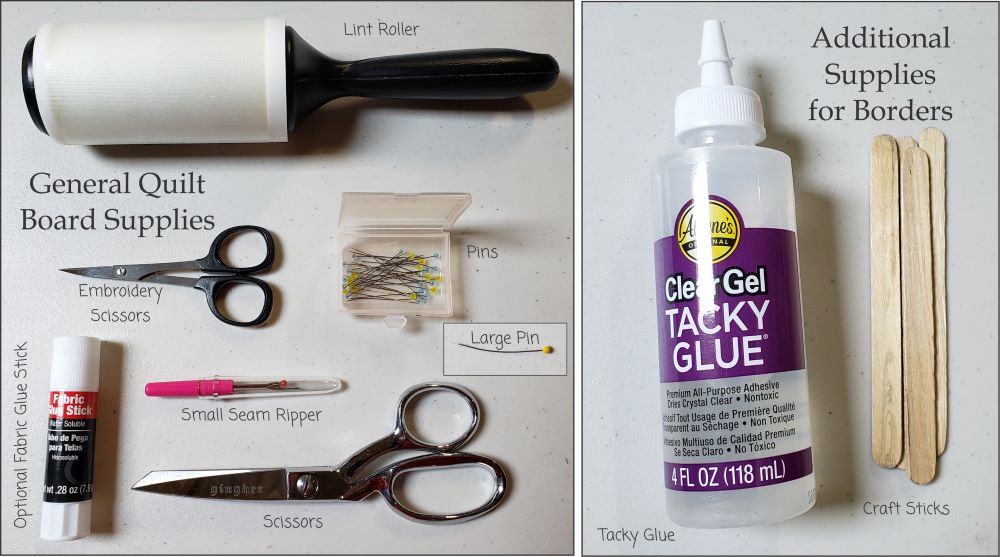
Supplies needed: Embroidery Scissors (with a curved tip), fine pins, a large quilter’s pin, small seam ripper and craft sticks. The Tacky Glue can be one of a variety of Tacky Glue (Original, Clear Gel, Quick Grab, etc.) Optional Fabric Glue Stick
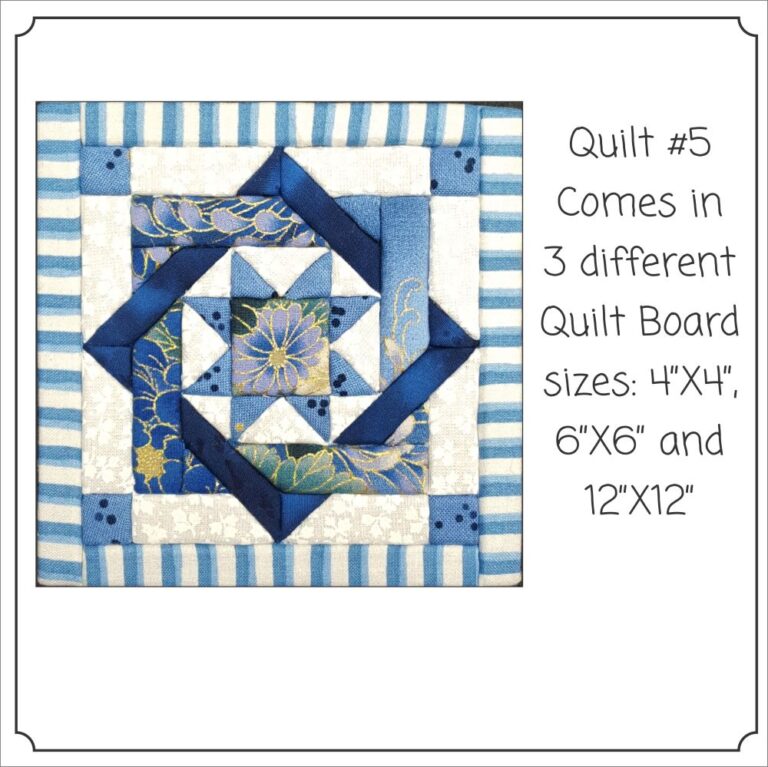
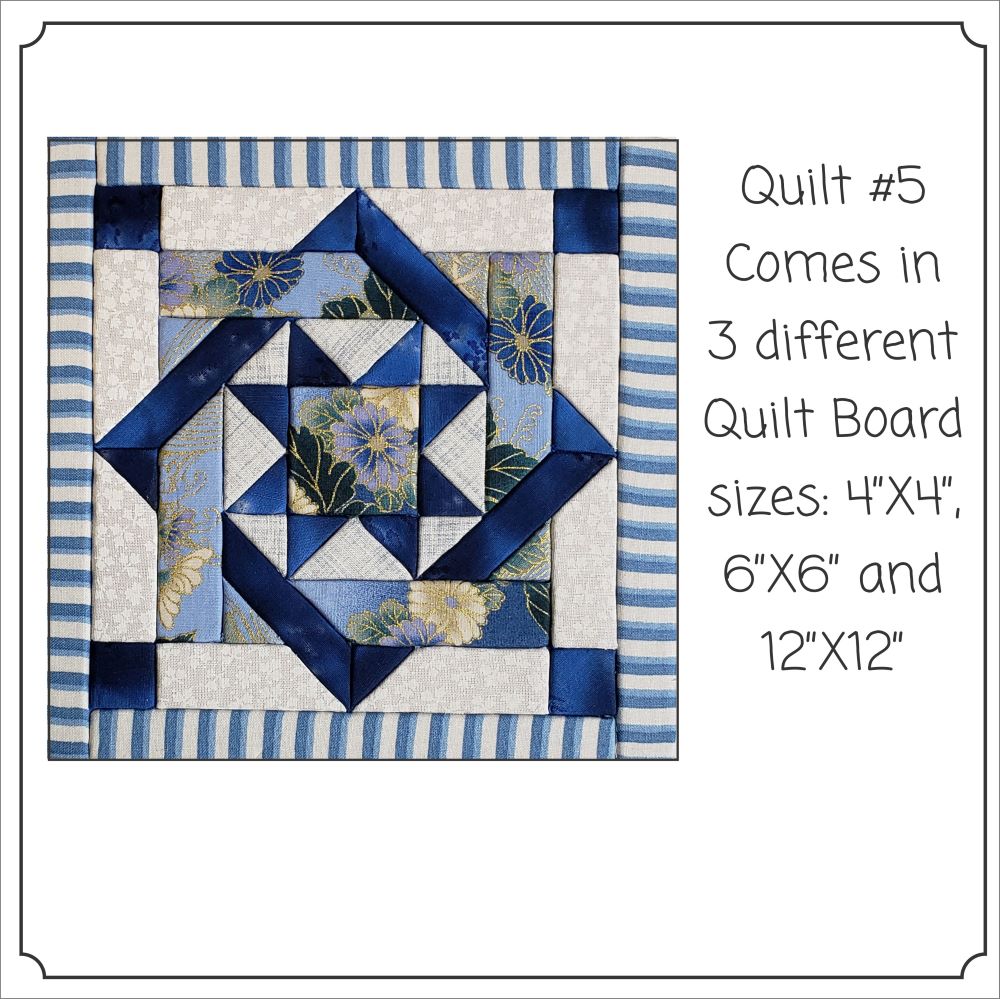
Choosing fabrics for a Quilt Board project is fun and an easy thing to do. Count the different fabrics used on the cover sheet. It’s a good reference point. A project may have more or less fabrics than the example on the cover sheet. For 6″X6″ Quilt boards scraps will be sufficient and 6″X45″ strip for the borders. 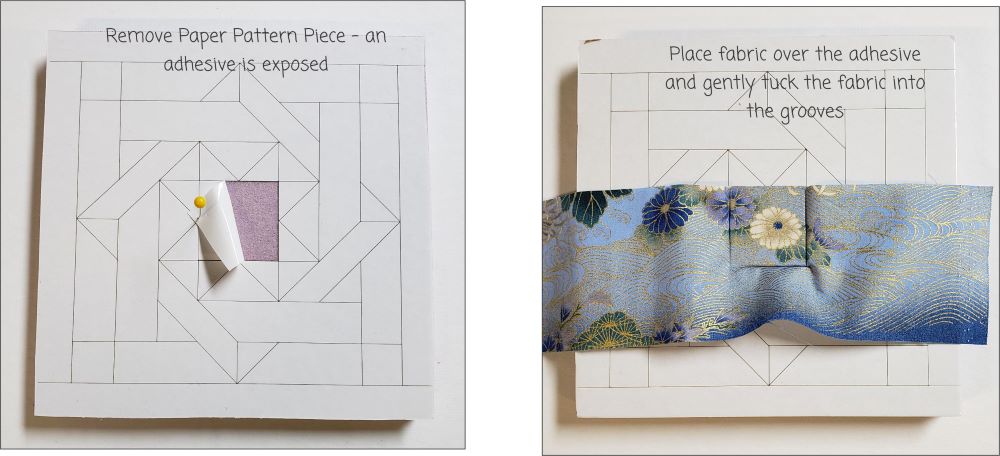
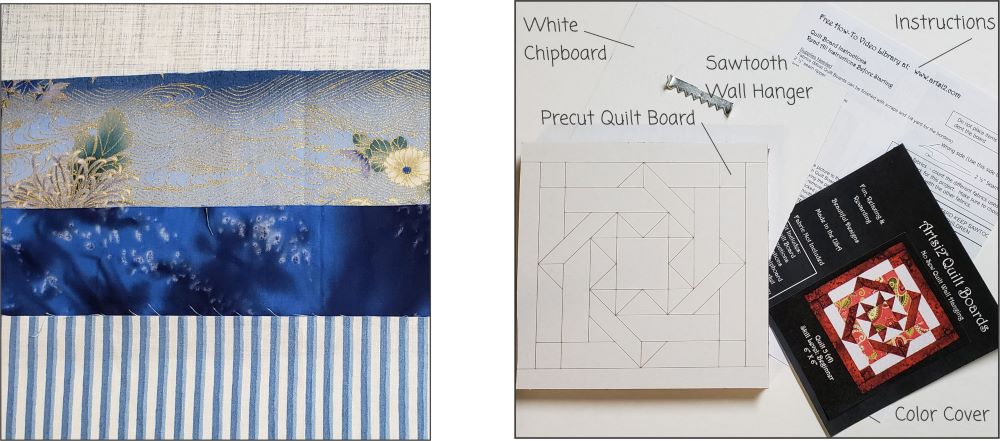
Please note that working on the Quilt #5 Board is approached in a different way than Betsy the Cow, Barn or the Ornaments Quilt Boards. The standard process: Tick up a paper pattern piece, an adhesive is exposed. Place the fabric on the adhesive. Gently tuck the fabric into the grooves, using 1 of the methods below.
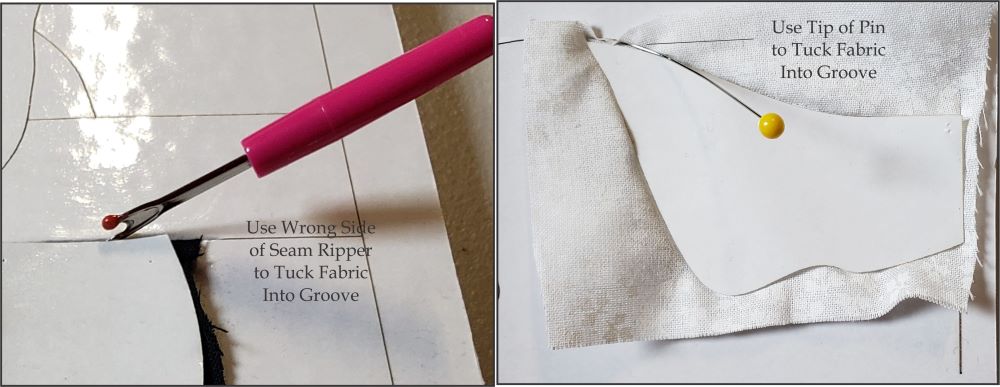
A Small Seam Ripper is ideal. Make sure not to use a large seam ripper as it will enlarge the grooves in the board. The other method is using a Quilt Pin. The pin will eventually bend – which I like. Oftentimes I use the Pin for most of the Quilt Board and then switch to the Small Seam Ripper for the borders.

Trim the fabric close to the grooves and then tuck the fabric all the way into the grooves. The next step; tick up 2 of the paper pattern pieces. Make sure not to tick up two different paper pattern pieces next to one another.
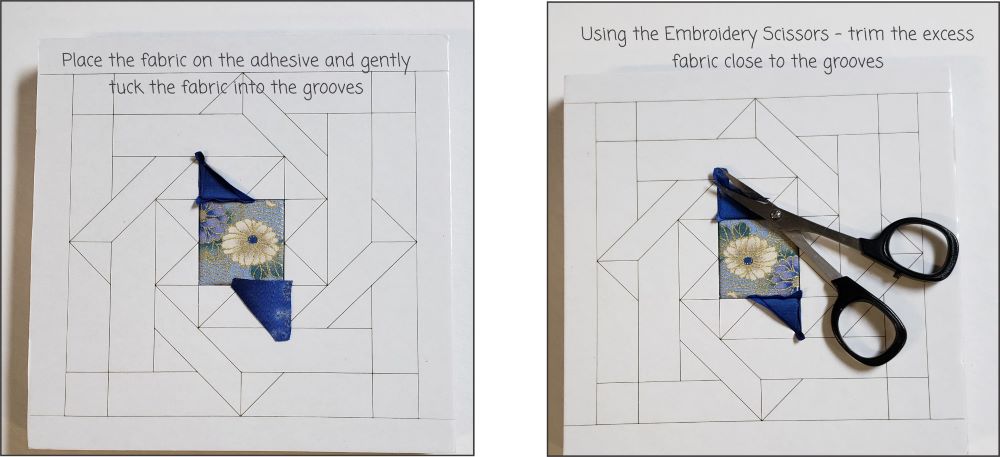
Start applying the fabric triangles to the Quilt Board. Place the fabric on the adhesive, gently tuck the fabric into the grooves and then trim the excess fabric. Now is a good time to use the lint roller to remove any fibers or fuzz!
Tuck the fabric all the way into the grooves and complete all 8 triangles. Now it’s time to work on the next set of triangles. Please note that all 1a pieces are the same and all 1b pieces are all the same.
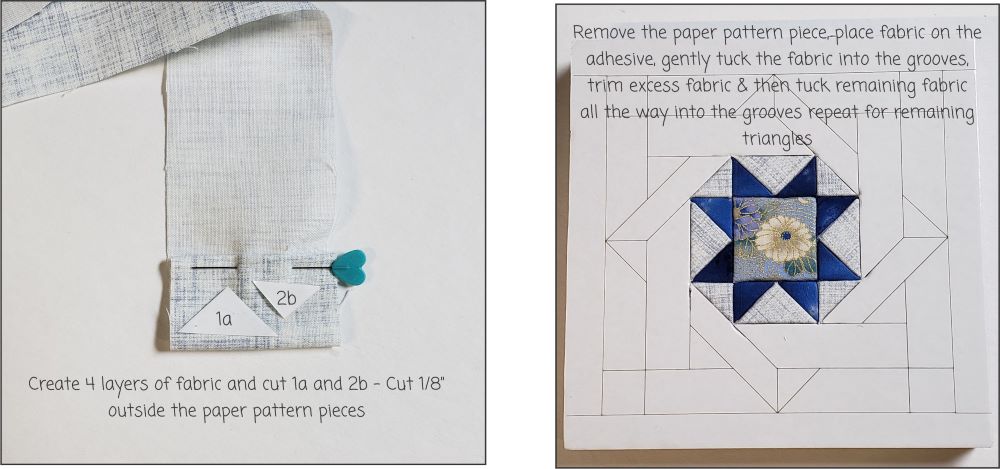
Cut the 1a and 1b triangles and start covering the 1a areas and 1b areas with fabric; place the fabric on the adhesive, gently tuck the fabric into the grooves, trim close to the grooves, use a lint roller and then tuck the fabric all the way into the grooves. Repeat until all 1a and 1b areas are covered.
Cut a strip of fabric 24″ X 7/8″. Start the process: remove a paper pattern piece, apply the fabric to the adhesive, gently tuck the fabric into the grooves, trim fabric close to the grooves, use a lint roller and then tuck the fabric all the way into the grooves. 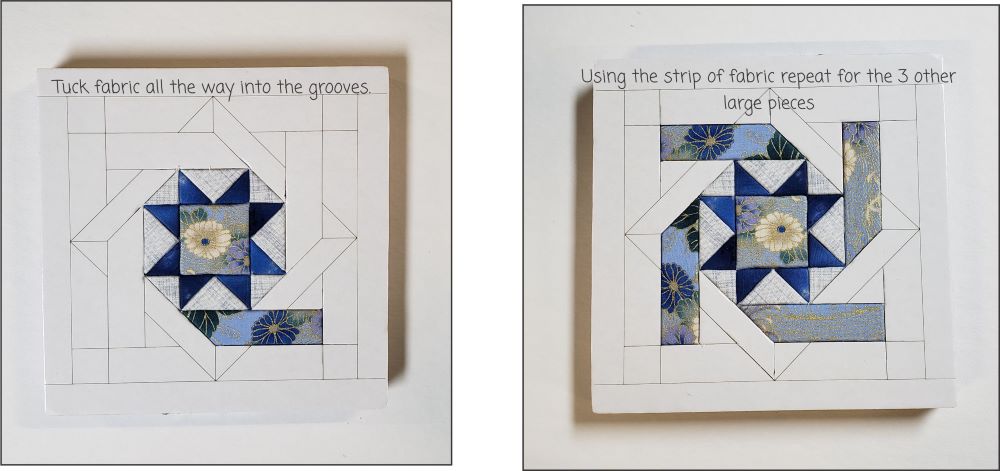
Using the strip complete the 3 other long areas of the design. Then complete the 4 smaller areas. (See below.)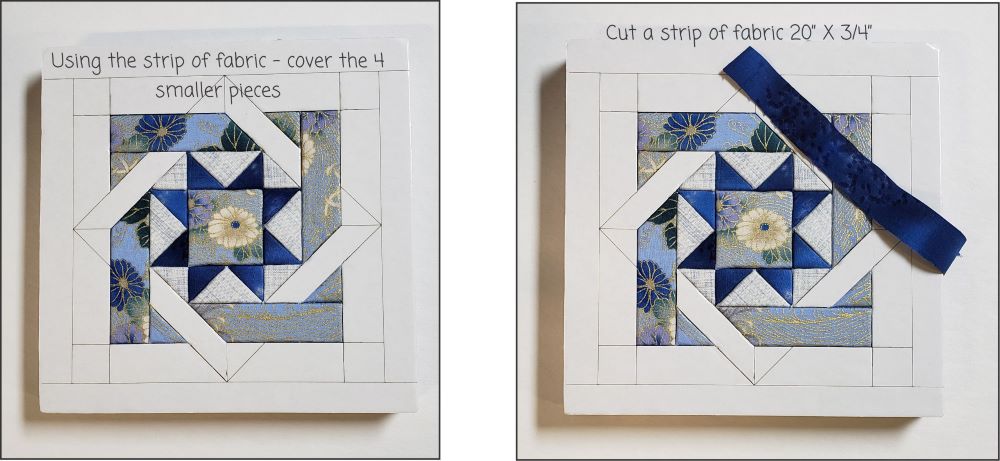
Cut another strip 20″X3/4″. Work the longer areas of the design first; Remove the paper pattern piece, place the fabric on the adhesive, gently tuck the fabric into the grooves, trim the fabric close to the grooves, use a lint roller, then tuck the fabric all the way into the grooves.

Next work the smaller areas of the design. Using the same method; tick up the paper pattern piece, place the fabric on the adhesive, gently tuck the fabric into the grooves, trim the fabric close to the grooves, use a lint roller, then tuck the fabric into the grooves all the way. The project is really starting to take shape!