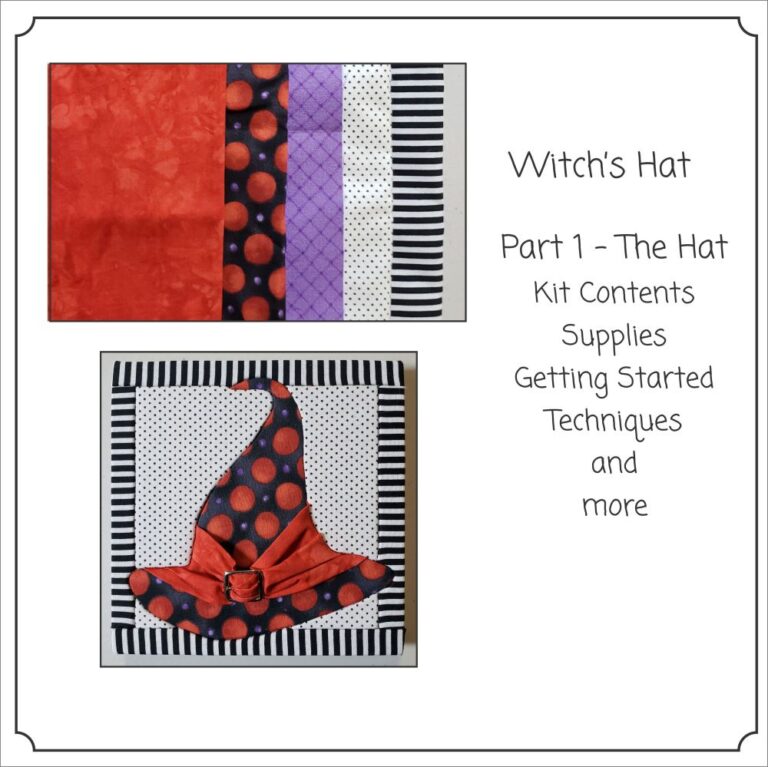
Witch’s Hat Part 1
Kits Available at: https://artsi2.com/product/halloween-witchs-hat/ Contents of Kit: Precut Board Sawtooth Wall Hanger Buckle White Chipboard Instructions Illustrations Color Cover Sheet Choosing Fabrics Picking out fabrics


Kits Available at: https://artsi2.com/product/halloween-witchs-hat/ Contents of Kit: Precut Board Sawtooth Wall Hanger Buckle White Chipboard Instructions Illustrations Color Cover Sheet Choosing Fabrics Picking out fabrics
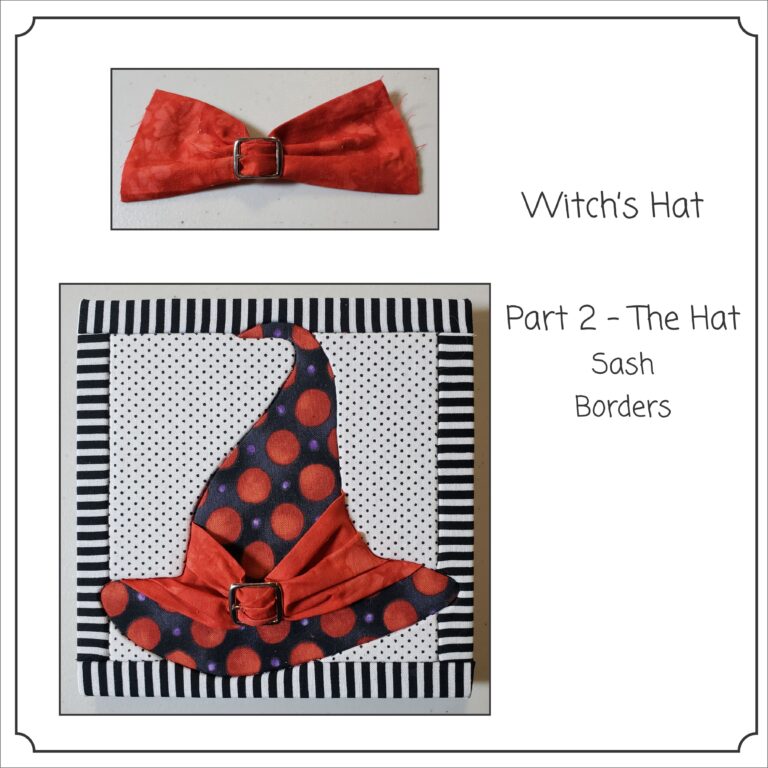
Kits Available at: https://artsi2.com/product/halloween-witchs-hat/ Remove Paper Pattern Piece. Cut (qty. 2) pieces, measuring 2″ X 6″ using your Border Fabric. Place Fabric on the adhesive
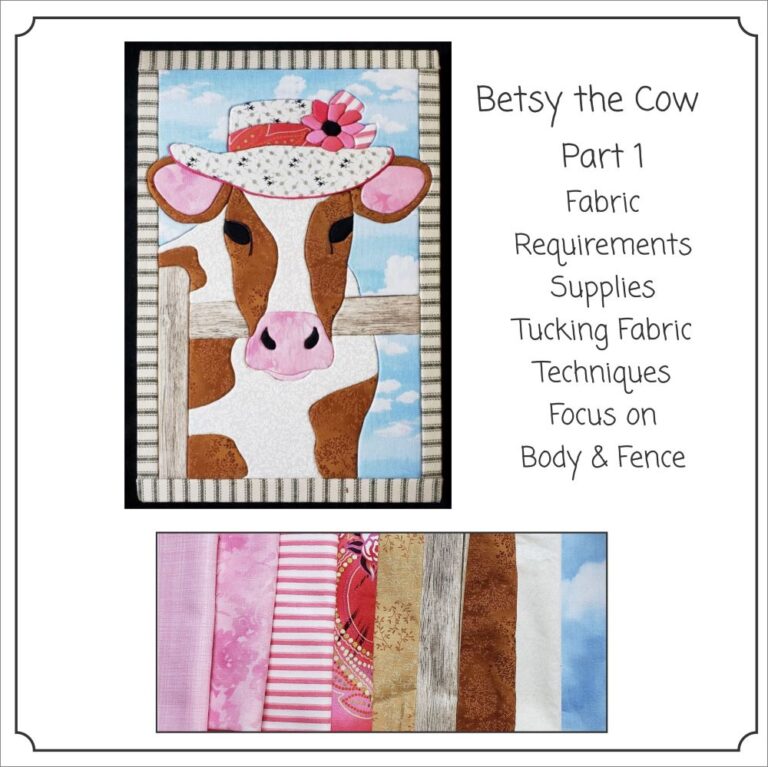
Kits Available at: https://artsi2.com/product/betsy-the-cow-no-sew-quilt-wall-hanging-by-artsi2/ Betsy the Cow Quilt Board Contents: Precut Board, Waxed Linen, Sawtooth Wall Hanger, White Chip Board, Written Instructions and Illustrations Choosing
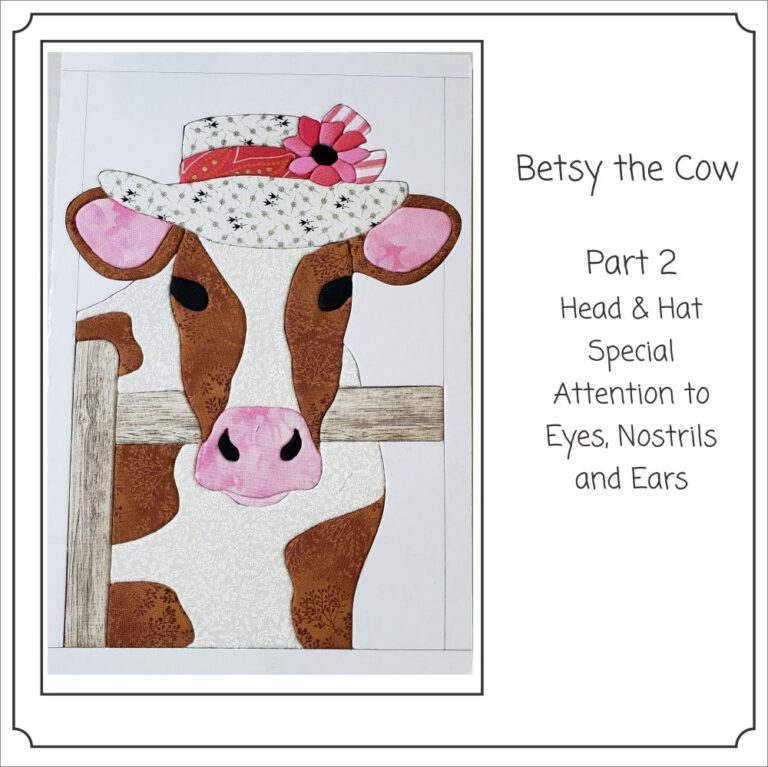
Kits Available at: https://artsi2.com/product/betsy-the-cow-no-sew-quilt-wall-hanging-by-artsi2/ Place the Brown Fabric over the adhesive, put the paper pattern piece over the fabric and pin down. Tuck the fabric

Kits Available at: https://artsi2.com/product/betsy-the-cow-no-sew-quilt-wall-hanging-by-artsi2/ Remove all the “sky” pattern pieces and set aside. Place an 8″X12″ piece of sky fabric on the board. Pin all
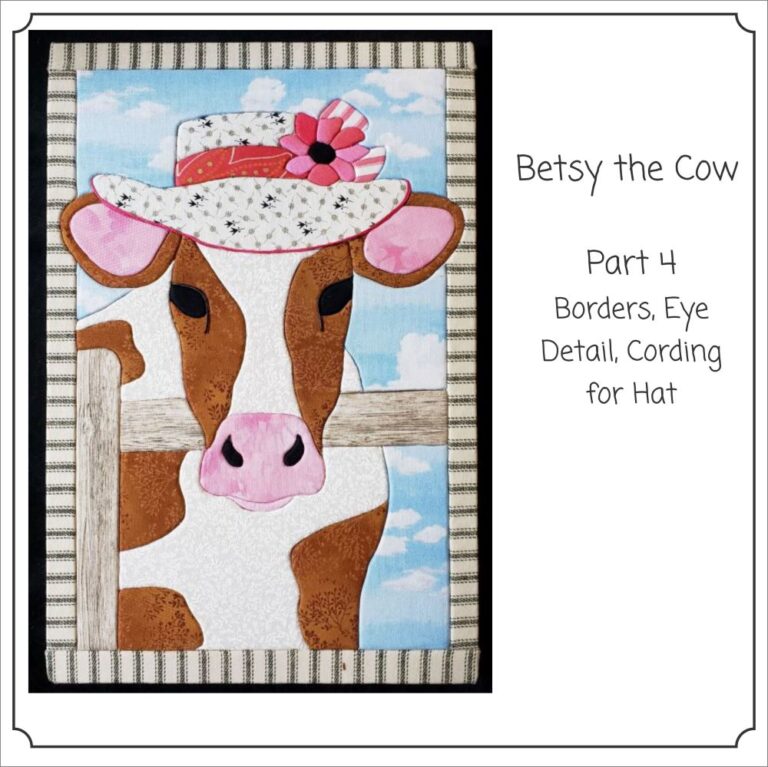
Kits Available at: https://artsi2.com/product/betsy-the-cow-no-sew-quilt-wall-hanging-by-artsi2/ The border strip should be 2″X12″ long. Remove paper pattern piece and set aside. Place border fabric on the adhesive. Place
Email: [email protected]
Shop: https://www.artsi2.com